Tree observations are most useful when they can be made without entering a potential fall zone, climbing, or disturbing the site. A homeowner does not need to identify a defect or decide whether a tree is safe. The goal is to record visible change, location, timing, and what could be affected so a tree professional can plan an appropriate assessment.
Name the Tree Clearly
On a property with more than one tree, begin by identifying the subject without relying on species knowledge. Use a simple label such as “front tree beside the driveway” or “second tree along the rear fence.” A wide photograph showing the tree in relation to the house, path, or other fixed feature is often more useful than an unlabeled close-up.
If you know the species, include it as context, but do not let an uncertain identification delay the report. The tree professional can confirm identity during the visit.
Look From Several Safe Positions
Observe the full crown from open ground outside the area beneath questionable branches. Note areas with fewer leaves, recently broken limbs, hanging material, unusual color, or a visible change in crown shape. Compare with earlier photographs or a similar seasonal period when possible; normal leaf drop and species habits can otherwise be mistaken for sudden decline.
From a distance, look at the trunk for fresh splits, cavities, peeling bark, fungal growth, or new movement at a union. At ground level, note raised soil, exposed or damaged roots, recent digging, standing water, or a changed grade. Do not probe cavities, cut roots, remove fungi, or step onto lifted soil to investigate.
Record Change Rather Than Guessing at Cause
Write down when the condition was first noticed and whether it followed a storm, construction, excavation, impact, irrigation change, or extended wet or dry period. These events may be relevant, but they do not establish why the tree looks different.
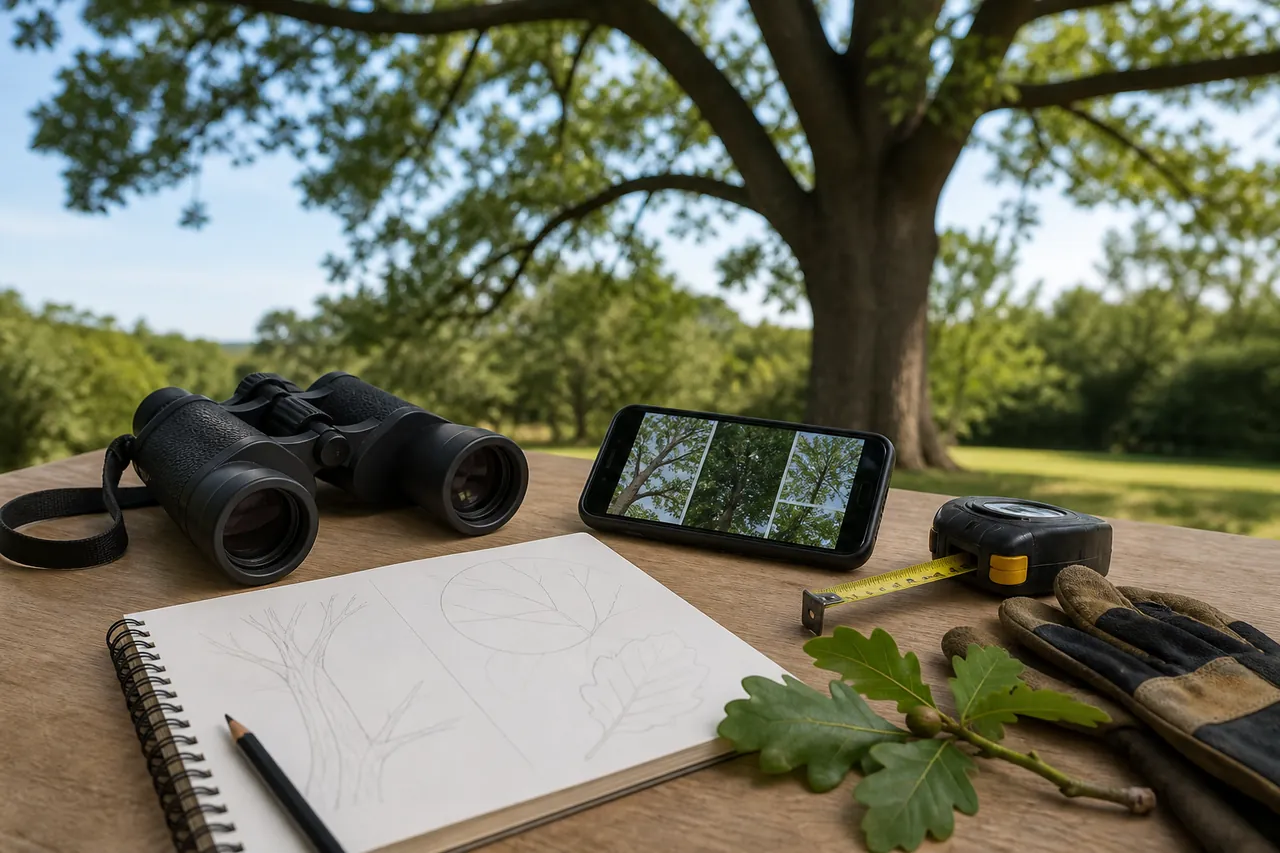
Use factual language: “branch is suspended over the walk” is clearer than “tree is dying.” Include whether the condition appears stable, has progressed between dates, or was only seen once. A pair of photographs taken from the same safe position can show change more reliably than memory.
Include Nearby Targets and Access
Tell the tree company what lies within reach of the tree or affected branch: buildings, parking, a play area, a public path, fencing, garden structures, or another tree. Mention slopes, narrow gates, soft ground, overhead obstructions, and any limited route to the site. These details help the provider determine how to inspect the tree and what equipment access may require.
If branches are near utility lines, do not approach, touch, or attempt to move them. Follow the utility provider’s reporting process. For a downed line, arcing, fire, or an immediate threat to people, keep away and contact the appropriate emergency authority.
Know When to Keep the Area Clear
A newly leaning tree, soil lifting around the base, a widening trunk split, a suspended large limb, or fresh major failure deserves prompt professional attention. Establish distance, prevent people and pets from entering the area, and avoid parking beneath it. Do not use ropes, ladders, poles, or tools to test stability.
Safe ground observations create a practical first record: which tree, what changed, when it changed, what surrounds it, and where access is available. They help the tree professional prepare while leaving climbing, probing, risk evaluation, and treatment decisions to trained personnel on site.